 |
| MIDAS Server in NT Service Application |
| Step 4. Creation of the MIDAS Client |
|
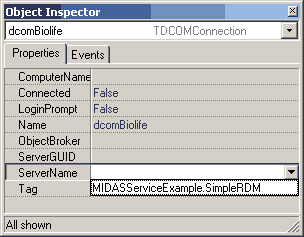
Go to the Delphi's Demos\Db\FishFact folder and open the FFactwin form. This form uses the BIOLIFE table from the sample database and displays its data in a convenient form. As soon as our example supplies the same data, it would be a good idea to use this form in our example. Only a few changes are necessary to accommodate this form for our example. Do the following: First copy this project into a separate directory to preserve the original one from modifications. Then delete the TTable component and place the TClientData and the TDCOMConnection there. The DataSource component should be linked to the ClientDataSet instead of deleted TTable. If you have not started the server, start it now. Then link the components together: select the MIDASServiceExample.SimpleRDM as a server name of the DCOM connection component:
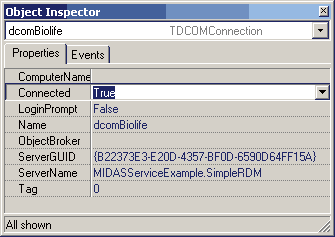
and connect it:
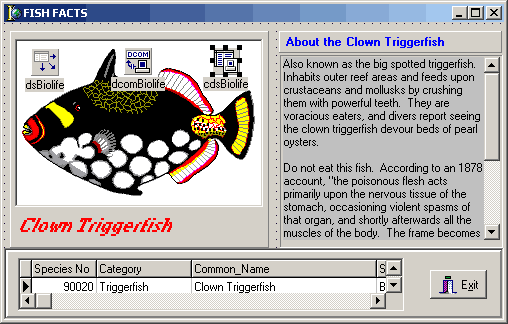
Now set the ClientDataSet properties in the following order: set the RemoteServer name to the name of DCOM Connection component, set the ProviderName:='BiolifeProvider' and finally activate the dataset: Active:=True; As a result you should get something like this:
As you see our example already works! Save it and execute to ensure that it works in run-time too. |
| << | Index | Step 1 | Step 2 | Step 3 | Step 4 | |
| Add your comment | Read comments |
| © 1998-2001
Alexey Dynnikov |
|


